
During The House in Distress mission in Control Resonant, you’ll reach a Testing Room filled with Power Cores. Once the test begins, the doors close, and you need to complete three patterns before you can leave.
The confusing part is that one monitor doesn’t give you the entire answer. Each screen shows a piece of the pattern. You need to combine those clues and power the matching cores on the wall.
Enter the Testing Room
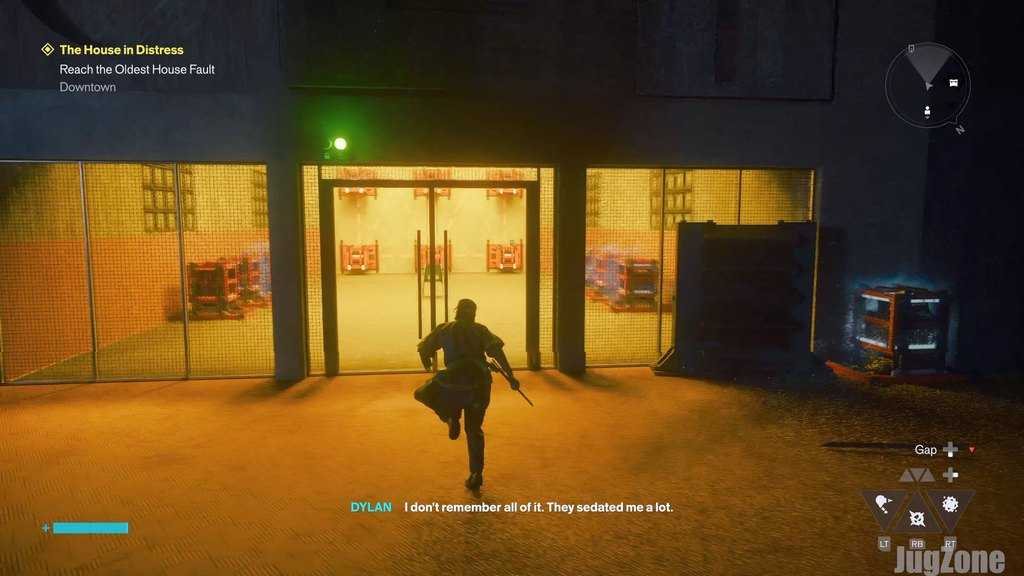
If you haven’t opened the entrance yet, return to the breaker room and strike the active Power Core to transfer its charge into Dylan’s weapon. Carry that charge upstairs and use it on the core beside the Testing Room door.
Once inside, striking a Power Core starts the test and locks the doors. You’ll need to finish the puzzle before taking power back to the breaker room.
Read the Monitors and Power Core Grid
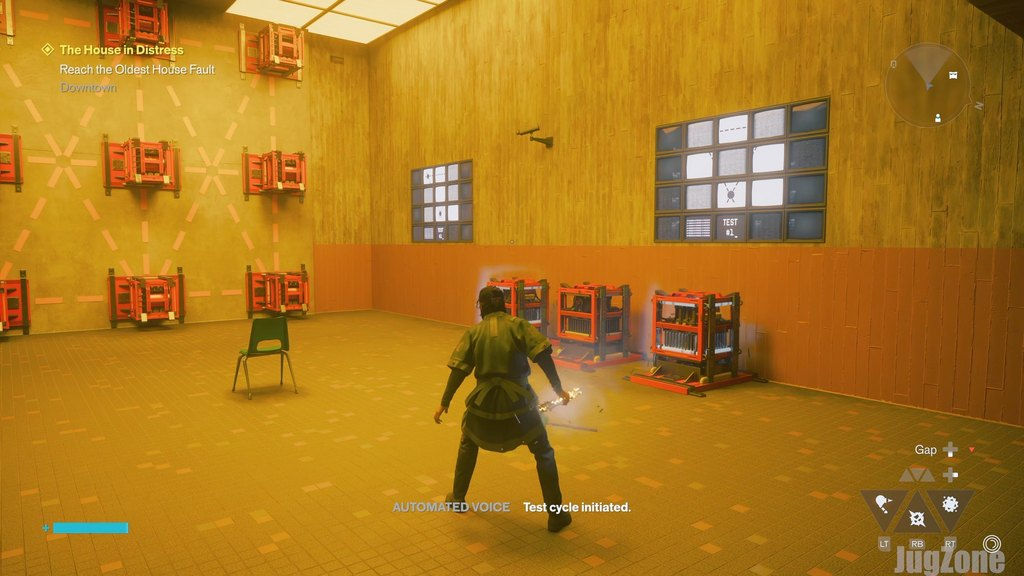
Face the wall with the nine Power Cores arranged in a three-by-three grid. The directions below use that view: the top row is the highest row, and left and right refer to the sides of the grid as you face it.
Check the white markings across all the monitors to see which positions need power. Strike the cores to change their powered state, leaving only the required positions active.
After a correct arrangement, the monitors change to the next test. Wait for that change before adjusting the grid again.
Follow the three patterns below, checking your monitors after each test. If your screens show a different arrangement, use their combined markings to identify the required cores.
Test 1: Create the Triangle
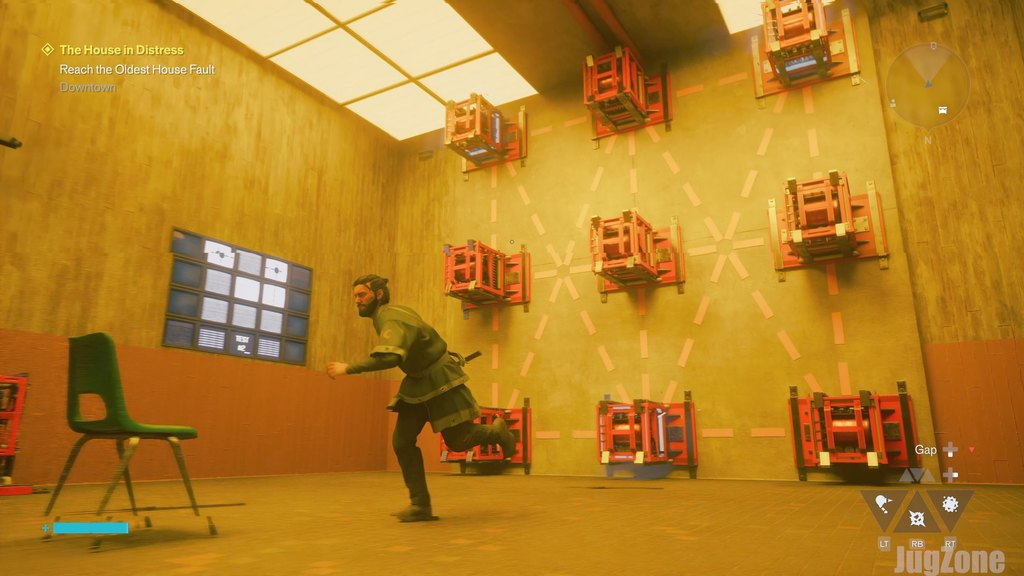
For the first pattern, power the top-left, top-right, and bottom-center cores. Leave the other six off.
| Row | Left | Center | Right |
|---|---|---|---|
| Top | ON | OFF | ON |
| Middle | OFF | OFF | OFF |
| Bottom | OFF | ON | OFF |
Those three positions form a triangle. Once the monitors update, move on to the second pattern.
Test 2: Power All Four Corners
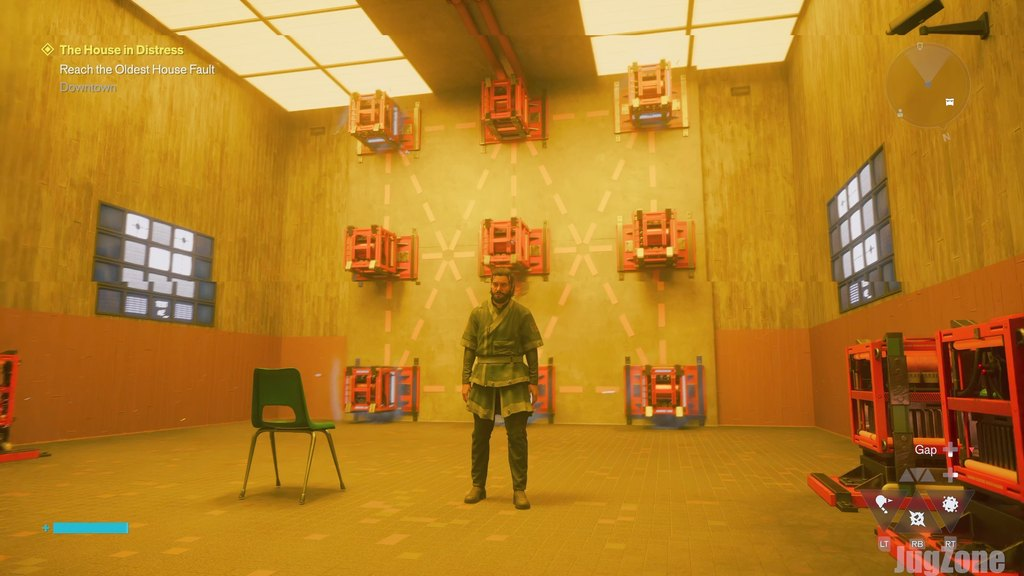
Keep both top corners active. Turn off the bottom-center core, then activate the bottom-left and bottom-right cores.
Your grid should now look like this:
| Row | Left | Center | Right |
|---|---|---|---|
| Top | ON | OFF | ON |
| Middle | OFF | OFF | OFF |
| Bottom | ON | OFF | ON |
Double-check the bottom-center position before continuing. Leaving it powered adds an extra core to the pattern and prevents the test from registering.
Test 3: Create the Cross
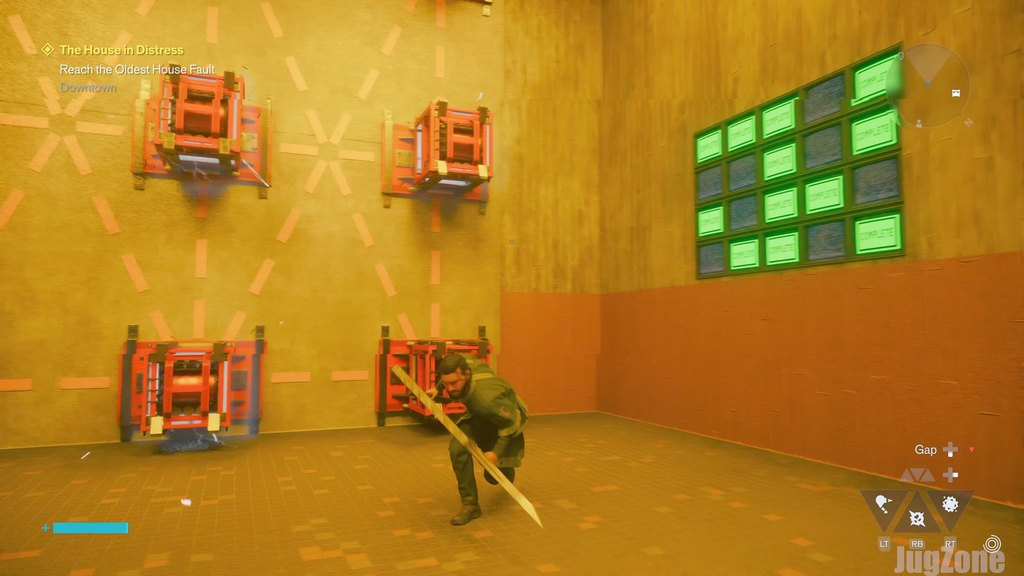
Turn off the four corners from the previous test. Now power the entire middle row and middle column, making a plus sign.
| Row | Left | Center | Right |
|---|---|---|---|
| Top | OFF | ON | OFF |
| Middle | ON | ON | ON |
| Bottom | OFF | ON | OFF |
There should be five powered cores: one at the top, three across the middle, and one at the bottom. All four corners should be off.
Unlock the Door and Restore Power
When the final pattern registers, the monitors turn green and the Testing Room doors open.
If the room stays locked, compare the grid with the current monitor clues. Check for an extra powered core or a missing position before changing anything else.
You can now take power from two of the room’s cores back to the breaker room. Restore power there to open the route forward and continue The House in Distress with Zoe.
Watch the full video here: